

In case you have any questions about how to make your own "Joy" wood sign- I've created a quick tutorial to walk you through the steps.
 Supplies:
2 x 8 wood cut down to size
wood letters (I bought mine at Hobby Lobby but you can get them at Michael's Joann's and Online).
wreath or garland to make your own mini wreath
scrap book paper or paint
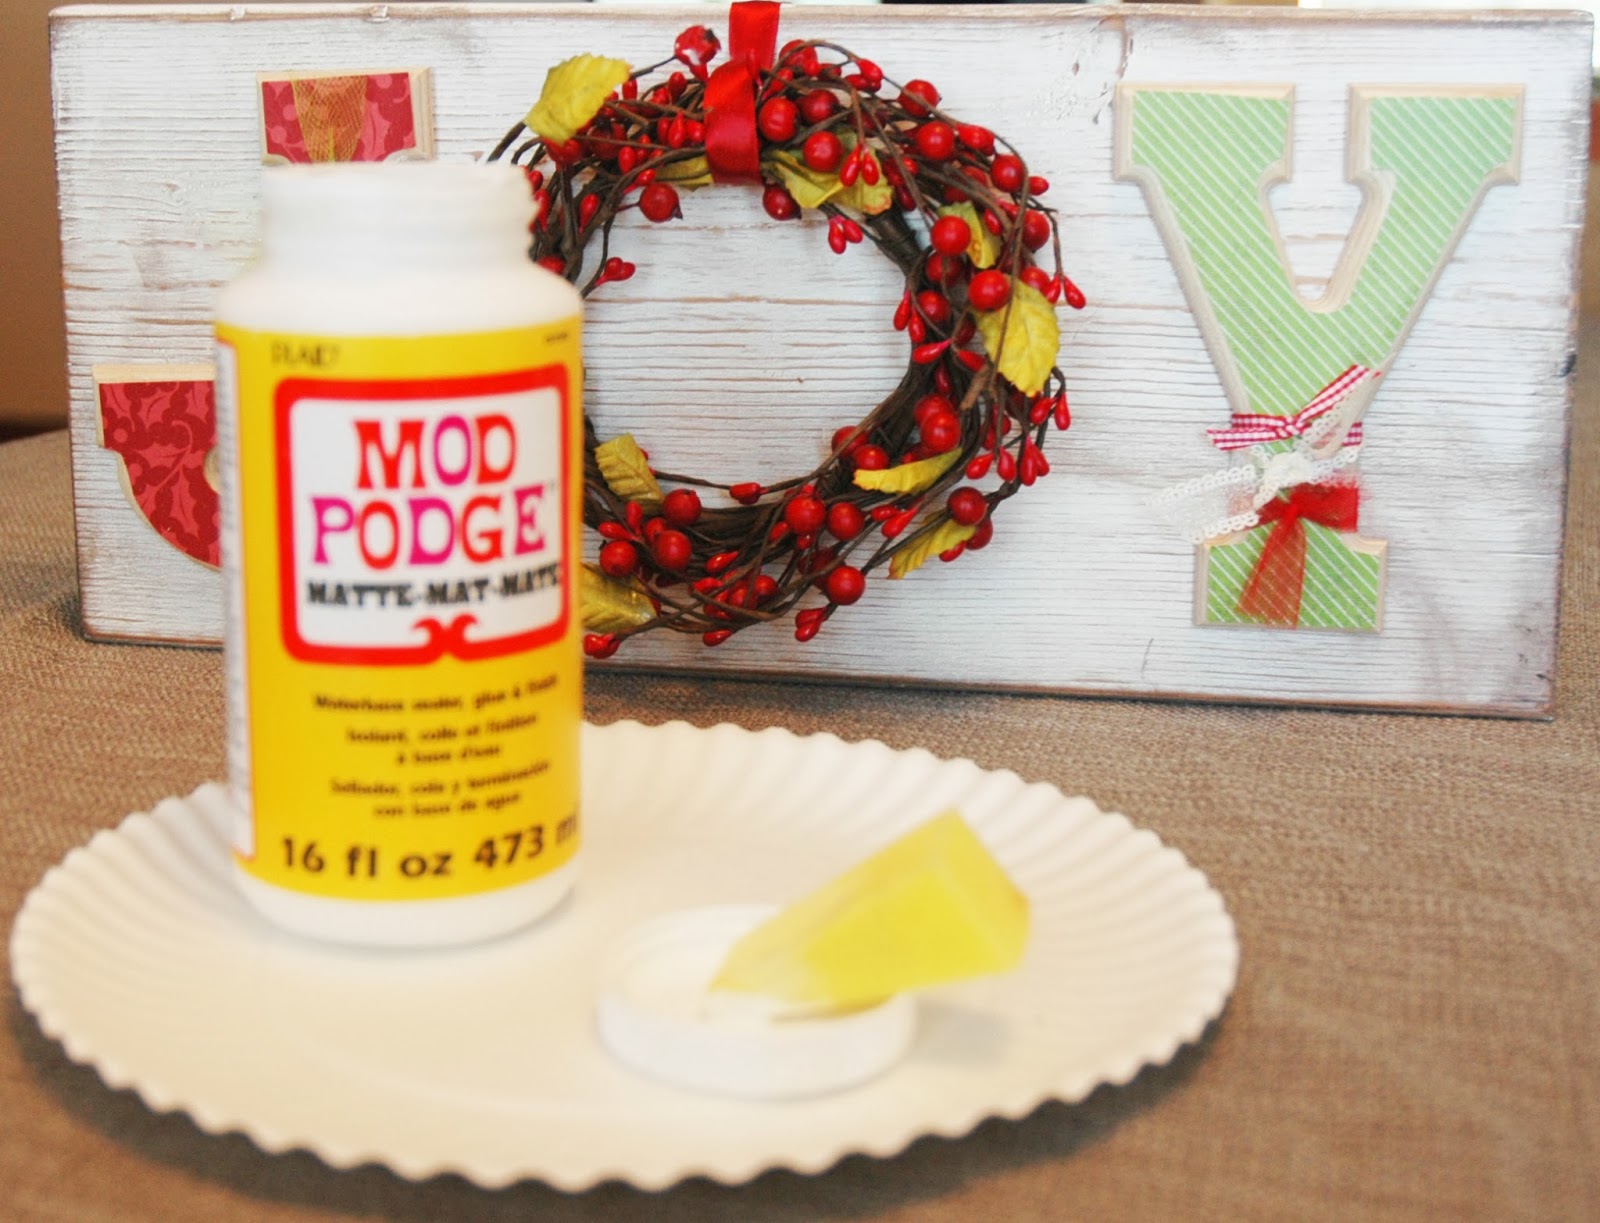
modge podge and sponge
ribbon
pencil
scissors
paint
nail gun
Purchase and cut a 2 x 8 down to size. Depending on the # and size of your letters and wreath you'll want decide how long you want it. Most of mine range from 16"-24" (if you don't have a chop saw you can have them cut it for you at your local lumber store).
Now paint or stain it. I usually pass this task onto Dan because he's awesome at it and he never spills on the carpet. (he likes to paint while catching the latest college football game). I usually just have him do a thin white coat and then I sand some off, lightly stain it to bring out the texture of the wood and then seal it. But it completely depends on the style you're going for so be creative.


Now modge podge and let dry. Once it's dry you can embellish with ribbon, buttons, brads, jewels gems, you name it. I prefer keeping it simple and only using different textures of ribbon because I like the focus to be on the words.


Once the wreath is placed and secured and your letters are embellished then it's time to secure them to the wood. Now, I'm going to apologize in advance for any of you who bought my signs before I figured this out....I hope your letters are still on. :( I have found that the best way to make sure the sign is sturdy and will last for years and years to come is to use a brad nailer and nail those letters into place.


If you've added ribbon, simply pull it down in a few places and slip a few nails in. If you AREN'T planning on adding ribbon then back way up and nail your letters down before you add the paper to them. Otherwise, you'll put visible holes right through your finished product.
That's it folks.

In case you would rather just buy one all done, I've got a good selection of cute signs all made and ready for purchase at the Simple Treasures Boutique going on in Ogden at the Union Station from Dec 4-7th 2013. Besides my cute signs there a so many other fun and original crafts to buy so go and check it out.
You can watch KUTV Fresh Living on Dec 2nd to see me show you in person how to make these signs. Let's all pray I don't make a complete fool of myself. :)
Don't forget to scroll down and see all of our other craft projects we've been working on. There's so many fun varieties you can do with this idea. Like our our Gold "NOEL" sign or our silver and white "SNOW" sign that would last clear through January....
I'd love to see what you all come up with. email pics to kellie@chloereese.com
-Kell
No comments:
Post a Comment