Monday, June 29, 2015

FHE Board Vinyl Now Available on ETSY!


Hey Everyone,  I've had a lot of people interested in buying the vinyl to make this modern FHE board so I opened up an ETSY shop to make it easier to order.  Here's the link if you're interested:
https://www.etsy.com/shop/ThistlewoodDesign

The dimensions for my board are: 12" by 48"


Saturday, September 13, 2014

Family Home Evening Boards, FHE Boards, Modern FHE Boards, FHE chart, Family Home Evening Chart, FHE chalkboard

I want to say first and foremost that I got this idea on pinterest and tweaked it a bit to my liking.  The company that I got the idea from was Claremont and I tried to find there site but all the links go to a dead end.  So here's my version.  If you want to make your own I can get you the vinyl for $18.00.

The reason I love it is because it is fun for the kids to write their names in, It doesn't require tons of little pieces that get lost or broken, and MOSTLY I love it because it looks good and goes with my style of decor.  

Monday, February 3, 2014

Old Glory Pallet Board Sign

I can't help it.  I always get a head of myself when it comes to holidays.  It's only 151 Days until July 4th but what can I say?  I'm already thinking Red, White, and Blue.  I actually made these rustic red signs for some Christmas boutique that I never actually finished in time so I decided since Christmas is even farther away than Independence Day I'd go that direction.  Here is what I came up with and I'm pretty excited with how it turned out.  To be honest I "stole" these old fence pieces from my neighbors garbage can.  I'm shameless I know.  I did, in my defense, try and ask her but she was at work and the garbage truck was already driving down the other street.  It was a crisis I tell ya.  I actually had to call my husband to rush home during his lunch hour to help me because I was/am pregnant and not quite able to haul a garbage can full of old fence pieces myself.  After all the hassle I'm very very glad I was able to save these babies.  Hope you like what I came up with. 


 I'm not going to deceive you, taping this off and measuring it was the BIGGEST pain of the entire project.  Other than taping this was a cinch.
 I like to just pour my pain right on my surface.  I hate wasting paint and this usually works fairly well.

 I couldn't figure out how to not let this happen but it was easy to fix.  Just let it dry a few mins and re-tape.  See below.


 Here it is all bright and white and I certainly could have left it that way.  But since the red was already rustic I decided to go that route. 

 I got a package of pre-cut stars at JoAnn's.  I think they were $2.49
I just dipped the end of my rag in this stain and lightly brushed over the entire board and each star. 
 To add the stars I simply hot glued them to the board.  They are very light and thin and it seems very sturdy.  If you end up doing a similar project please share the link in the comments.  


Valentine's Day Decor Ideas

Here are a couple of projects I've done to decorate for LOVE day.


 I love these black frames because I can change them out for each and every holiday. 

I've got a few more projects that are almost finished which I will add on soon...

Kell


Tuesday, January 14, 2014

how to mount photos on foam board

 This is probably the easiest tutorial ever and I think the results are quite stunning.  Here's what you need to get started:
foam board in black or white (I bought mine at Hobby Lobby for $5.99 minus 40% off with coupon)
pencil
a sharp exacto knife
spray adhesive
pictures
sticky tack (optional for displaying)

1) All you do is lay the photo on the foam board face down and trace with a pencil.  (tip: put the picture slightly and I mean slightly off the edge of the board so you won't have the edge of the board showing on the sides of the photo.  i.e you want the photo and foam board to be the exact same size)

2) Now take your exacto knife and follow that line.

3) Next lay out some scrap papers or cardboard and spray your foam board with the adhesive (make sure to get an even coat and take special care to get the corners.  You don't want the edges to come off. 

4) Quickly before the adhesive dries carefully line the photo up on the foam and flatten and smooth with a clothe (or your shirt sleeve if you're like me). You can adjust the placement some but not a lot so take your time getting it in the right place the first time.

5) Like I said the adhesive is pretty awesome and dries quite fast so you can basically hang them up minutes after finishing.  This is perfect for super impatient people like me.  :)


 I love change.  That is why I love this mounting option because they are light and can be hung with only sticky tack.  That means I can rearrange on a daily basis with no holes to cover and if they are crooked it's such an easy fix. I think I moved mine 15 times to figure out how I liked them best.
Here's the side view.  See... simply, clean photos that make a gallery wall a cinch.  And it's very inexpensive as well.  Good luck!

Wednesday, December 18, 2013

Thanksgiving Quote Printable

It may seem like backtracking to be posting a Thanksgiving quote but my Sis-In-Law Rach wants Thanksgiving decorations for Christmas so I've created this image to print and frame for her.  Figured since I made it I might as well share it.  I'm no computer genius so I really don't know how to create it and share it as a pdf so if you want to tell me how to do that I'll be happy to try.  Otherwise, you can just right click the image and save it to your desktop.  Enjoy. Oh, and if you actually do use this image I'd love to see how.  Send a pic my way would ya?
~Kell

Sunday, December 8, 2013

More DIY Christmas Decor Ideas


My TV Debut

http://www.kutv.com/news/features/fresh-living/main/stories/vid_921.shtml
Fresh Living Craft Demo

Hey Everyone,

Here I am in my TV debut.  I was super nervous but I'm basically relieved that I didn't say anything too crazy (except for the compressor comments) :)  And my hand gestures are pretty out of control but the camera man took pity on me and cut some of those out.  Bless him.

Wednesday, December 4, 2013

Fresh Living Details

Hey everyone,  If you want to watch my live demo on KUTV's Fresh Living it will air tomorrow, Thursday December 5, 2013 at 1:00. Once it's online, I'll post the link so we can all laugh at how nervous I am and we can see first hand what the camera man meant when he suggested post-filming that I, "try to think in slow motion next time" and "don't use so many hand gestures".  It was a blast though and I'm glad I did it. 

Tuesday, November 26, 2013

Joy Christmas Sign Tutorial


In case you have any questions about how to make your own "Joy" wood sign- I've created a quick tutorial to walk you through the steps.

Supplies:
2 x 8 wood cut down to size
wood letters (I bought mine at Hobby Lobby but you can get them at Michael's Joann's and Online).
wreath or garland to make your own mini wreath
scrap book paper or paint
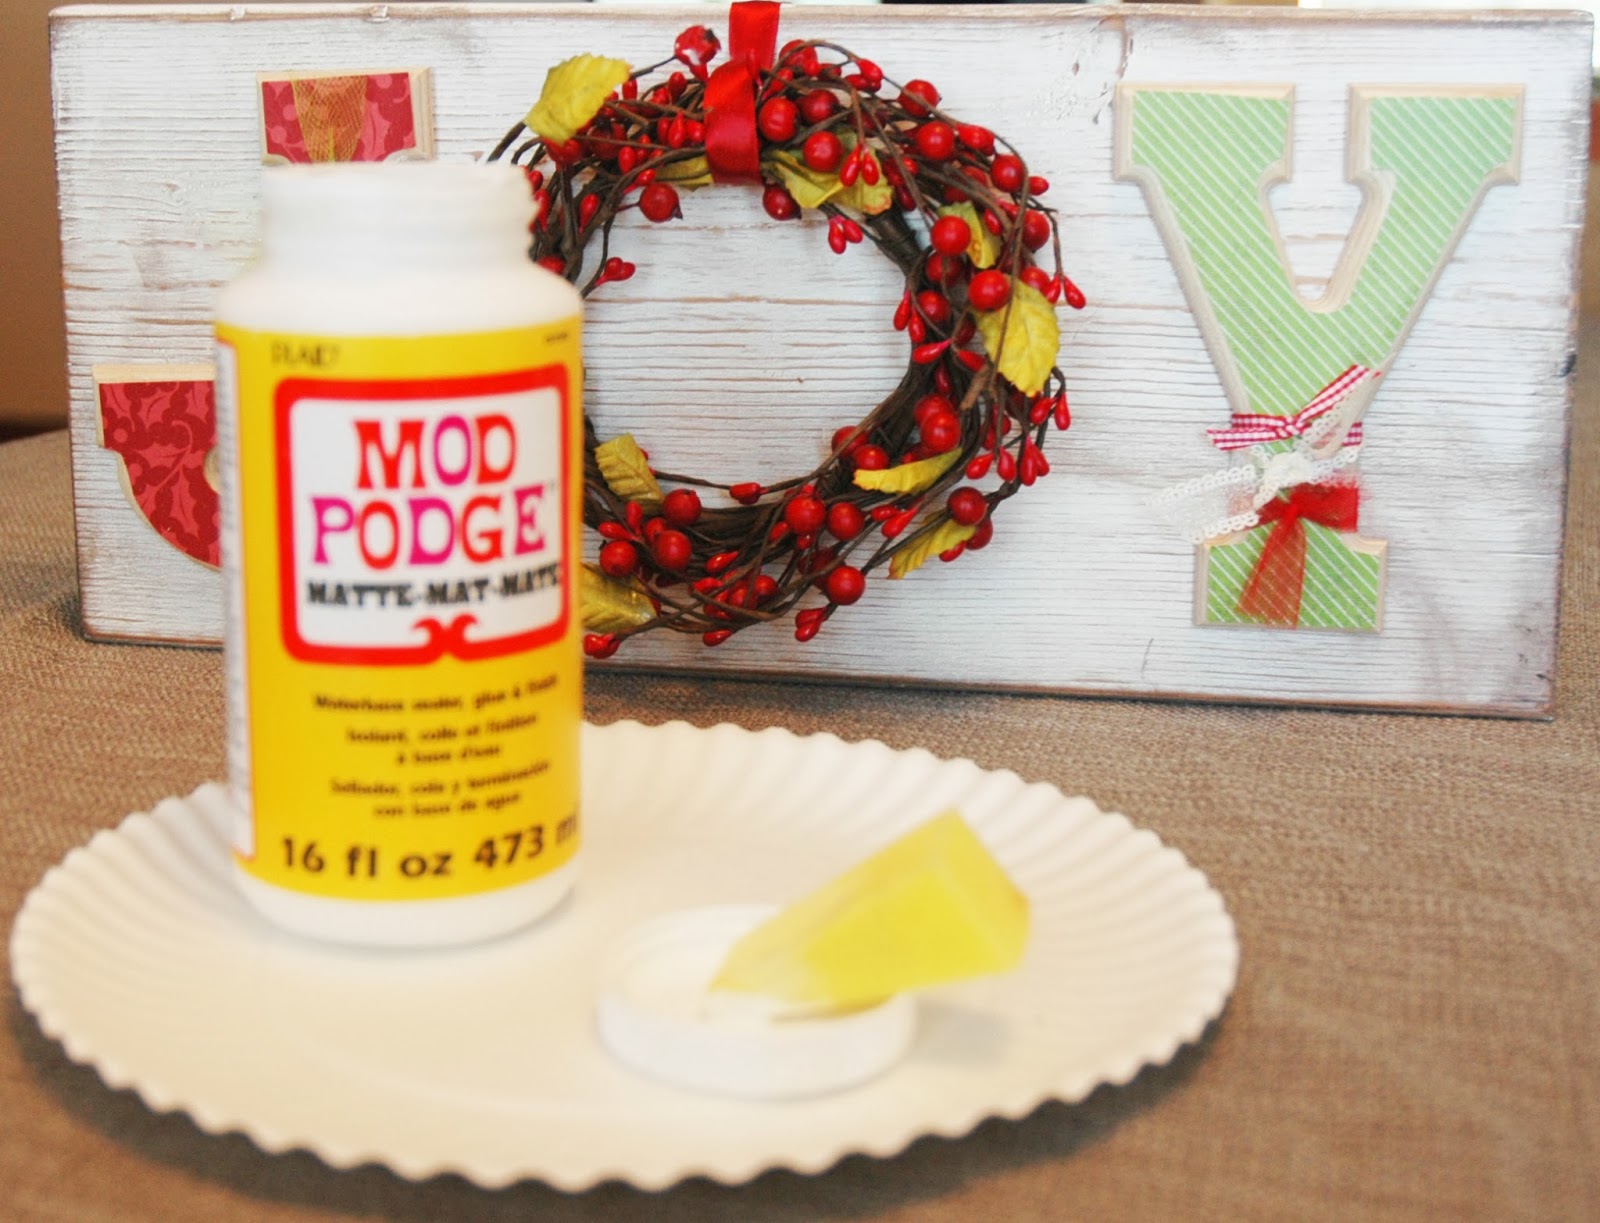
modge podge and sponge
ribbon
pencil
scissors
paint
nail gun

Purchase and cut a 2 x 8 down to size.  Depending on the # and size of your letters and wreath you'll want decide how long you want it.  Most of mine range from 16"-24" (if you don't have a chop saw you can have them cut it for you at your local lumber store).
 
Now paint or stain it.  I usually pass this task onto Dan because he's awesome at it and he never spills on the carpet.  (he likes to paint while catching the latest college football game).  I usually just have him do a thin white coat and then I sand some off, lightly stain it to bring out the texture of the wood and then seal it.  But it completely depends on the style you're going for so be creative.


Now I'll select my papers or paint and get the letters all jazzed up.  Let's pretend you're going to modge podge paper onto your letters like I did.  First, you'll trace the letter face down on the wrong side of the paper, try to stay as close to the wood as possibly by angling your pencil.  I also always cut about 1/8" inside the line I traced.


Now modge podge and let dry.  Once it's dry you can embellish with ribbon, buttons, brads, jewels gems, you name it.  I prefer keeping it simple and only using different textures of ribbon because I like the focus to be on the words.


Now it's time to add the wreath.  Because wreaths aren't flat you can't just hot glue them down...just trust me on this....I've tried.  To solve that problem all you need is some ribbon.  Tie the ribbon around the top of the wreath and loop over to the back of the wood.  You'll want to leave a few inches so you can create a clean, finished product.  Now you can whip out the glue gun and add a few staples for added security.


Once the wreath is placed and secured and your letters are embellished then it's time to secure them to the wood.  Now, I'm going to apologize in advance for any of you who bought my signs before I figured this out....I hope your letters are still on.  :(  I have found that the best way to make sure the sign is sturdy and will last for years and years to come is to use a brad nailer and nail those letters into place.


If you've added ribbon, simply pull it down in a few places and slip a few nails in.  If you AREN'T planning on adding ribbon then back way up and nail your letters down before you add the paper to them.  Otherwise, you'll put visible holes right through your finished product.

That's it folks. 


In case you would rather just buy one all done, I've got a good selection of cute signs all made and ready for purchase at the Simple Treasures Boutique going on in Ogden at the Union Station from Dec 4-7th 2013.  Besides my cute signs there a so many other fun and original crafts to buy so go and check it out.

You can watch KUTV Fresh Living on Dec 2nd to see me show you in person how to make these signs.   Let's all pray I don't make a complete fool of myself.  :) 

Don't forget to scroll down and see all of our other craft projects we've been working on.  There's so many fun varieties you can do with this idea. Like our our Gold "NOEL" sign or our silver and white "SNOW" sign that would last clear through January.... 

I'd love to see what you all come up with.  email pics to kellie@chloereese.com

 -Kell